Personal projects · retro hardware & software
Retrocomputing.
Bringing old machines back to life, redesigning them, and documenting the process — from 3D-printed cases to machine-code reverse engineering.
Pick a project:
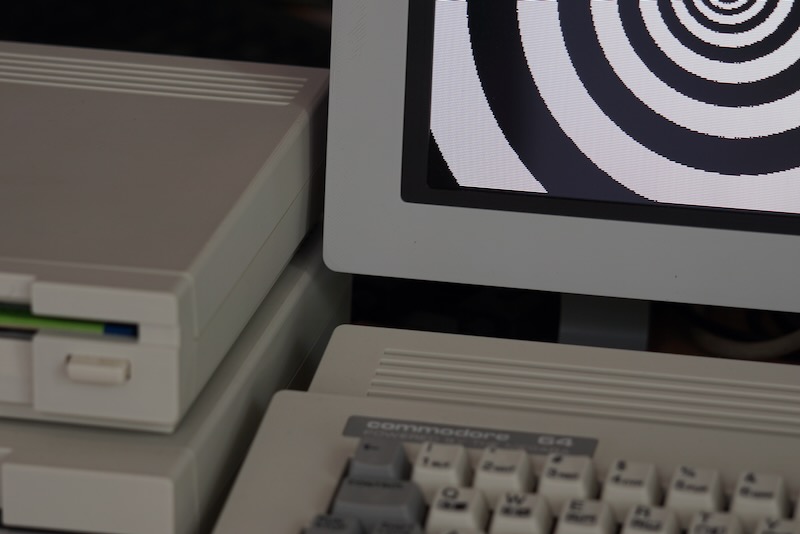
facelift64.
A complete reimagining of the Commodore 64 and virtually everything that plugs into it, using 3D printing: a custom case, mechanical keyboard, power supply and cables.
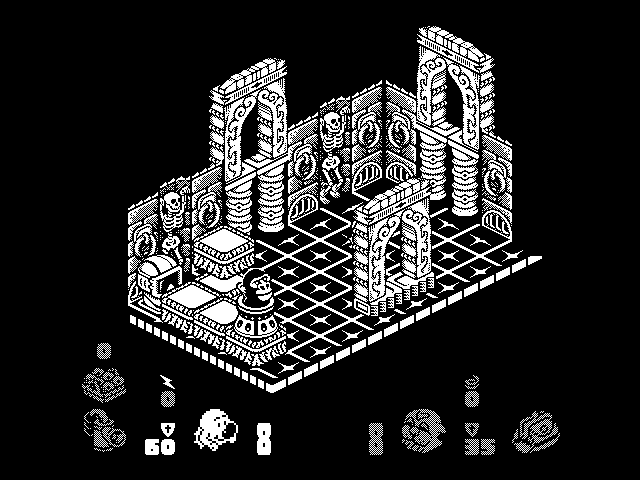
Head over Heels.
A native port of the C64 classic to a Motorola 68k Macintosh: machine-code reverse engineering, a custom C64 emulator, and an isometric rendering engine built from scratch.